Monday, December 6, 2010

Crafty Wreaths

Hi Ya'll! So I took a week hiatus cause I was busy finishing all our Decorations of the house for Christmas. Starting this week we get in to madness of house guest and holiday parties so I wanted to be ready. I have been working on our wreaths and am very excited cause I have made 3 for this year! I know I am nuts with all the decorations but I just love decorating for this time of year.


So this one I actually made after Christmas last year. It is the ornament wreath you have seen everywhere that you just string ornaments on a wire hanger. I would suggest using shatterproof ornaments which I did not. This hangs on a wall since I did not want it to break on the front door with the wind.


This year I made a Coffee filter wreath like every other blogger out there. I lurve it and I made mine a little different cause I used a different wreath form for it. 

I took pearl head push pin and took 5-10 folded filters and made a fan with them. They are really fluffy and will cover alot of area this way.


See instead of a foam wreath form my dollar store sells these wooden type ones. The wood is soft enough that the pearl head needle will go thru it.


After I filled the wreath I added some bling. All the little crystals were used in my bridal bouquet.

Some extra white and silver swirls I stole of the tree....


A couple picks with red in the for some pop...


Dollar store ribbon


Rolled over itself as much as it can go...


Stabbed with a tack in the middle....

And the loops pulled out back and forth till it was how I liked it. 


TADA!!!! On the front door. I just use one of those Command hooks stuck to the glass.


A close up. I think she looks pretty good!! 

Then I needed a wreath for my kitchen. My Kitchen tree has candy, and gingerbread cookies, and cookie cutter type ornaments and so I wanted something to go with it. I saw this wreath on Be Different, Act Normal and there was not credit to how originally made it. But it was a CUTE mashmellow and candy wreath.

So I winged it.

3 bags of marshmellows
2 boxes of Dots
Again a dollar store wreath form
Dollar store ribbon 
Low temp Glue Gun and LOTS of glue sticks


Just start gluing the marshmellows on. At first I tried lining them all up and having them be facing just so, but as I got going I stopped ripping the marshmellows apart and started gluing them how they were stuck to one and other and I really liked how that looked.


After I covered the form with marshmellows I just started filling in little cervices with Dots. You can use any candy you want this was just what I found at the dollar store. After you finish you can spray it with clear coat so it will "keep" and you can use it again. 


But here she is on my pantry door. I really like it and it adds what I needed to that side of the kitchen. 

Each wreath I spend less that $5 on by getting everything on sale or at the dollar store!

Thanks for stopping by I will be posting more decorations this week!


Photobucket

Sunday, December 5, 2010

Christmas Cards Preview

Swirling Ornaments Christmas Card
Make a statement with custom Christmas cards at Shutterfly.
View the entire collection of cards.

Saturday, November 27, 2010

Fragile'

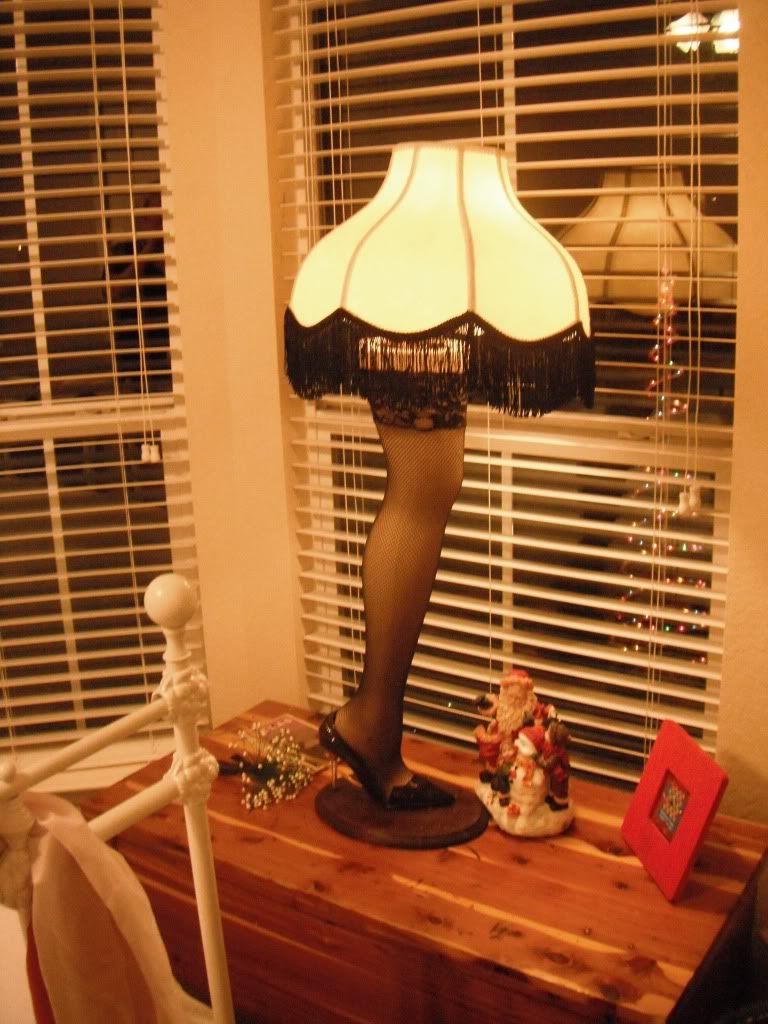
Ok I promised a tutorial for my leg lamp. I have wanted one of these lamps since I very first saw "A Christmas Story" . I loved it.

"It's a major award!"

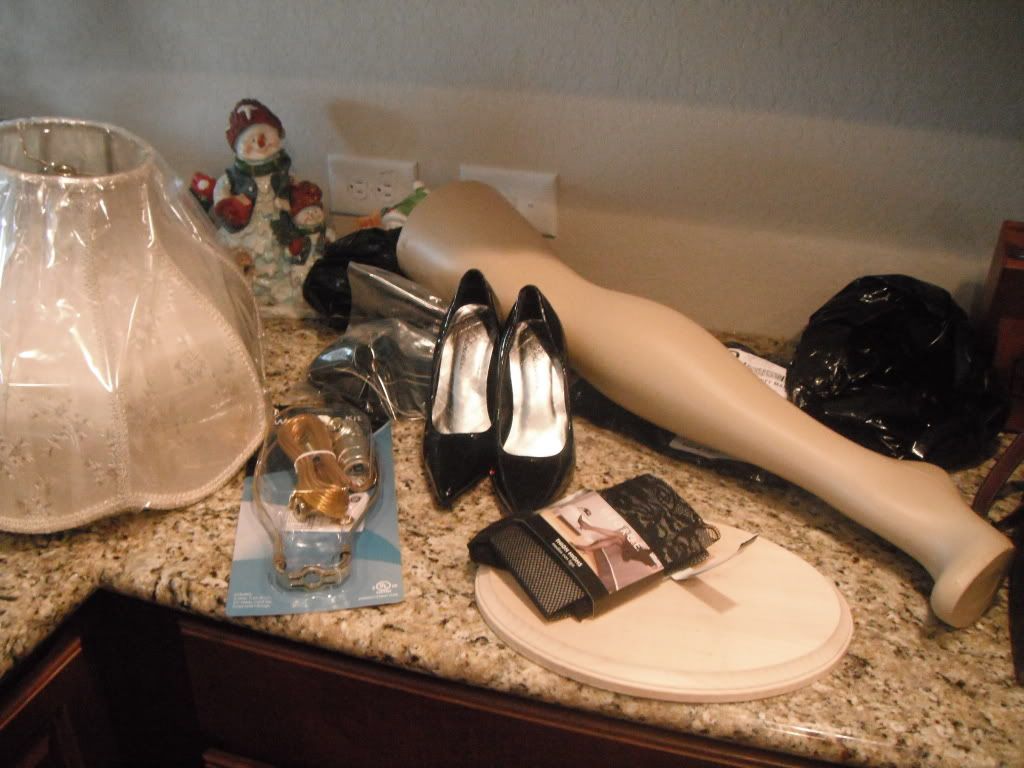
Well looking around for ones of these they are expensive, IE 200-300 bucks! Too rich for my blood for a lamp I will put up for a month. So I got to looking I could make one. First stop Ebay, I found a "stocking leg" that was 28" tall for $9.99 with shipping it was $18.99. After a week I was the proud owner of a leg. Next was time to do some shopping.

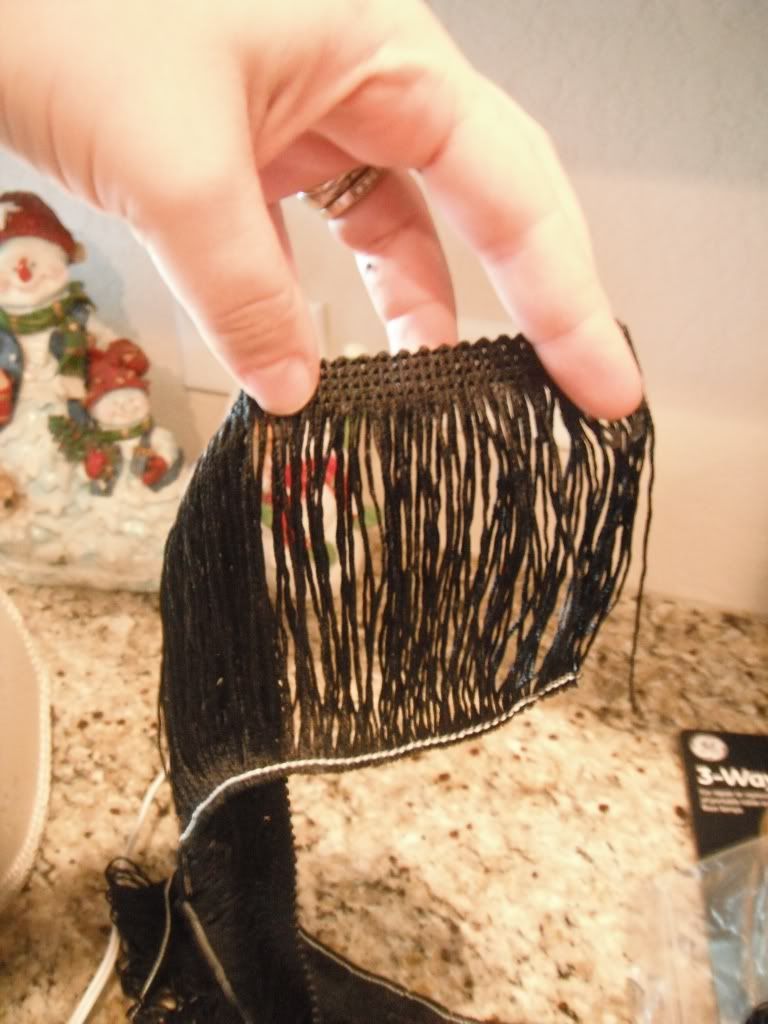
First I stopped at Hobby Lobby for a base and black fringe. For the base I got an unfinished wood piece from the area near the build your own clocks. Regular price it was $2.99 but was 40% off. The fringe they sell by the yard and I got 2 yards and used all but about 6 inches. Also on sale for 30% off off $3.99 a yard.

Photobucket

I got the heels at goodwill for 99 cents. Just an FYI the leg wears a 6-6 1/2 and needs a 4 inch heel. Please do not make my mistake and get a 5 1/2 and have to nail the shoe on while acting like she is Cinderella's ugly sister cramming her foot in the heel.

Next was Wal-mart for a 3/4 inch dowel, a pair of thigh highs, a light kit and a lampshade. You may be about to get the lamp shade at Goodwill or other thrift stores for cheaper but mine did not have one and I was in a hurry to get her made.

Photobucket

You will also need heavy gauge wire and paint or stain. Tools you will need a 4 inch screw and a drill with bits and a saw.

Supplies in hand I begin. First I took the base out to the garage and stained it. You can paint it also but I had stain already.

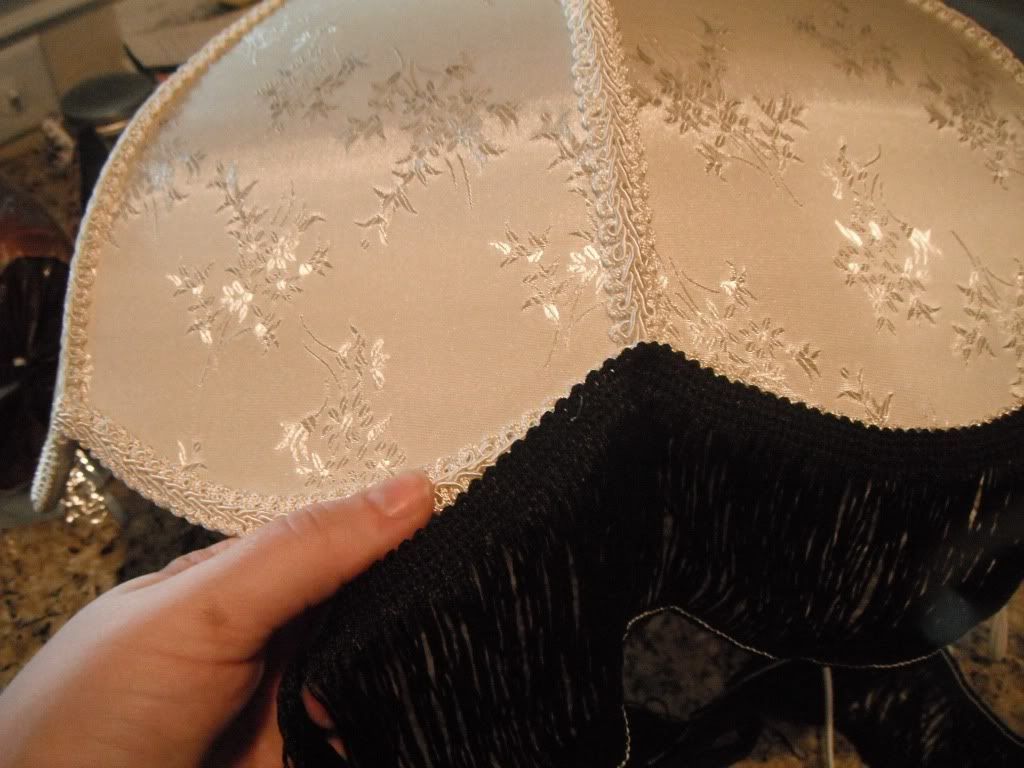
Next I came back in to hot glue the fringe on the lampshade.
Photobucket

Next I failed to take pictures of but I took the leg to the garage and I cut the "sole" of her foot out. This is so you can thread the lamp kit thru the leg.

Next you will need to drill a quarter inch hole thru the bottom of the heel for the lamp cord to come out. It is easier to do this now and thread the cord thru before attached to the light.

 After giving enough room for you to be able to plug the lamp in you run the lamp cord thru the leg and put the lamp kit together per the instructions. It is very easy to do.

Now the next thing I did was drill a small hole through the now stained base for a 4 inch screw to go through.

Based on the size of the screw you are using you will need to drill through the high heel at the "sole" close to the arch of shoe. You also will need to drill a pilot hole thru one end of the dowel for the screw to come into.

Once you have all your holes drilled now you can begin to assemble.

Photobucket
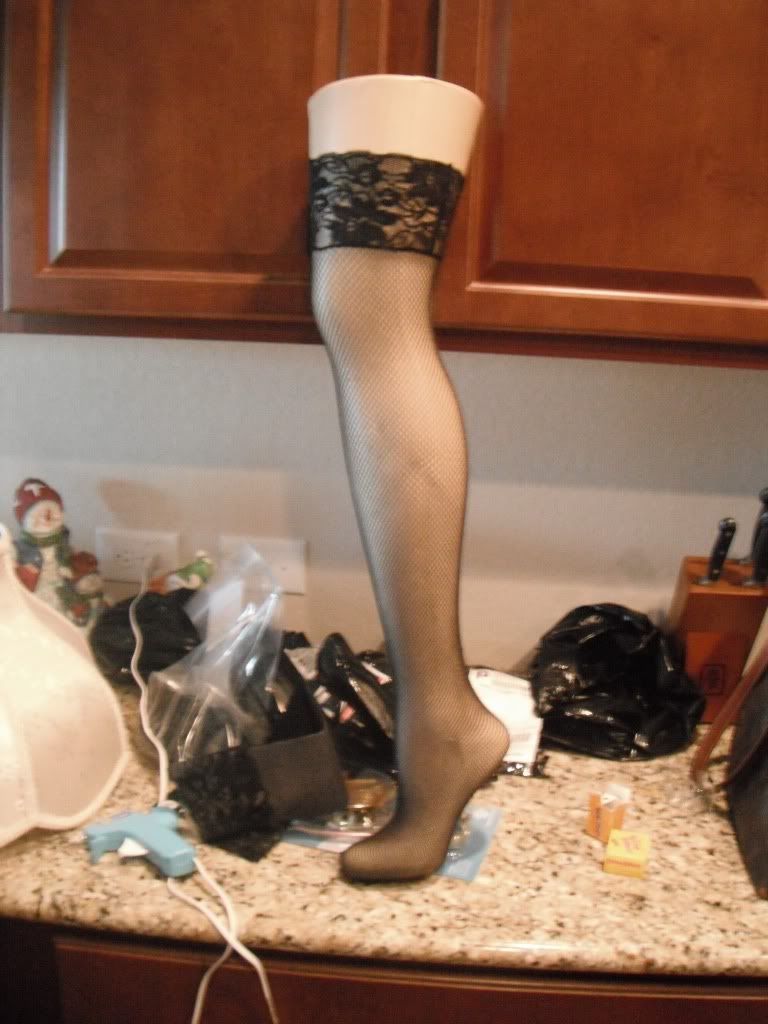
When you put the stocking on the leg you will have extra at the foot. I just tacked mine to the "arch" area of the foot so it was out of the way.

I glued my stocking around the "sole" cut out and then cut a hole in the stocking so I was not tearing it up with screw.

Now I placed the dowel in the leg with the pilot hole side down. You will screw thru the base, the shoe and the leg to the dowel till the screw will not tighten anymore. at this point it should be about to stand on its own.

All you have left is to drill 4 small holes for the heavy gauge wire to go thru the top of the leg


Now I know this does not look pretty but it does the job and it is all covered by the lamp shade. If you have a better way go ahead I just wanted to be done and put it up! This is what it looks like from the inside.


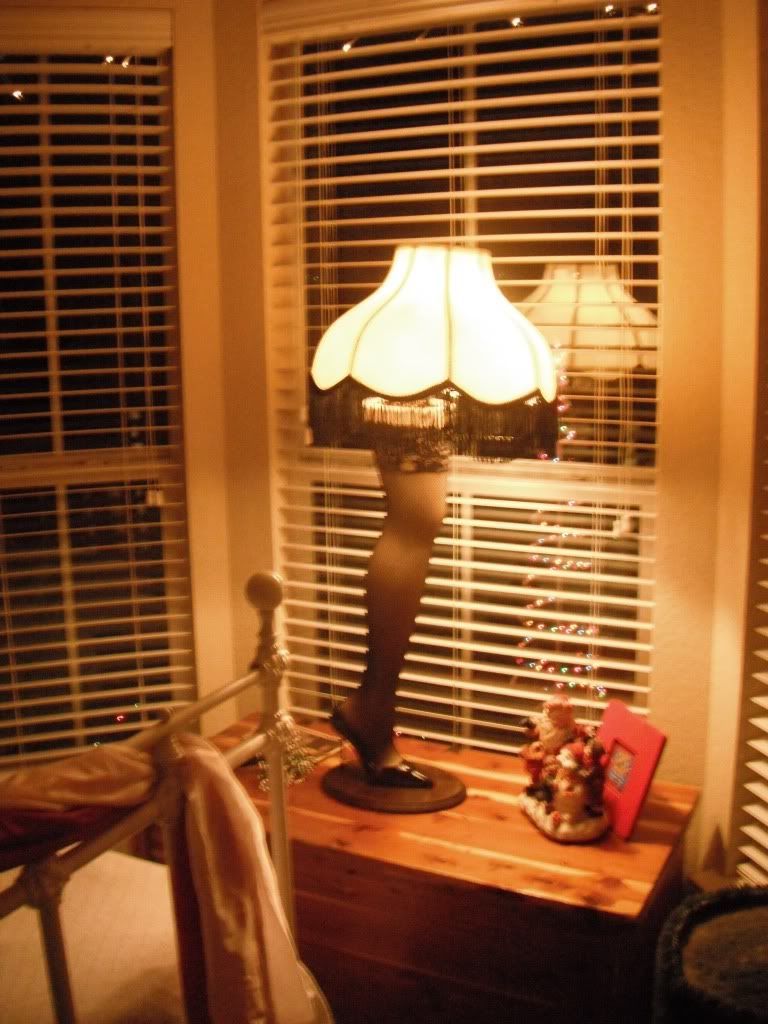
Now all that is left is attach the lamp shade and stand back and admire!!!!

Photobucket

All in all it cost me around $45 to make and that was only that high cause I could not fine a cheap lampshade at the thrift store. I think that is a pretty good knock off and way better than spending $250 on it don'tcha think?

Photobucket

I am linking to 


Photobucket


Funky Junk's Saturday Nite Special


UndertheTableandDreaming


Photobucket

Friday, November 26, 2010

Christmas Decorations

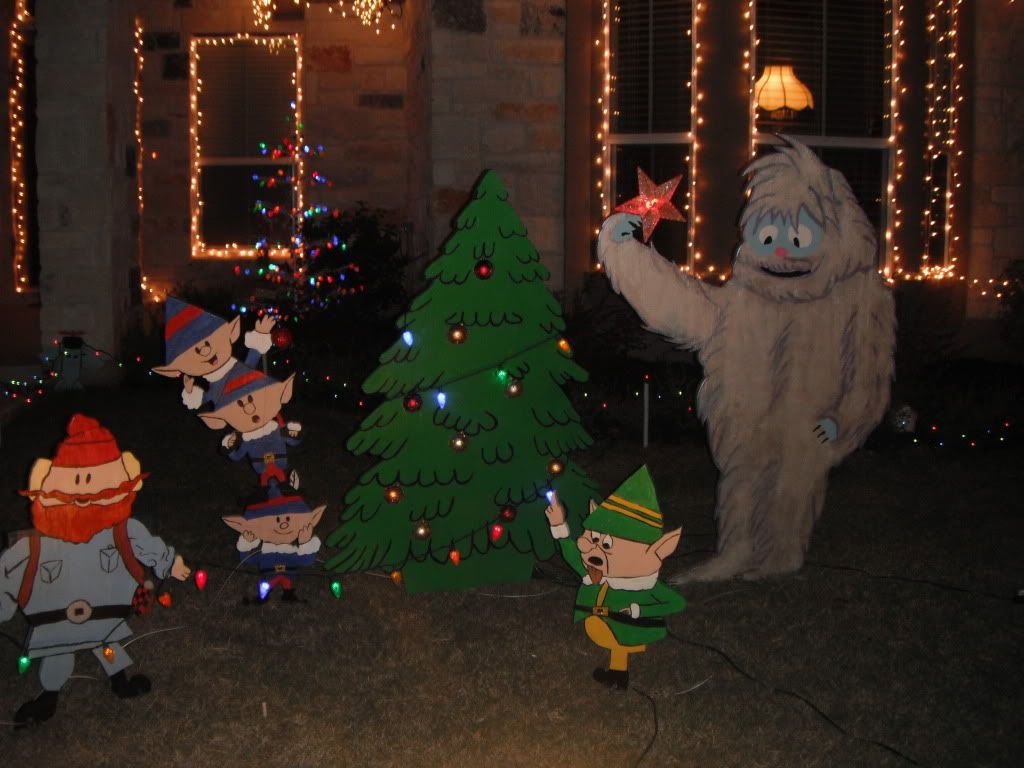
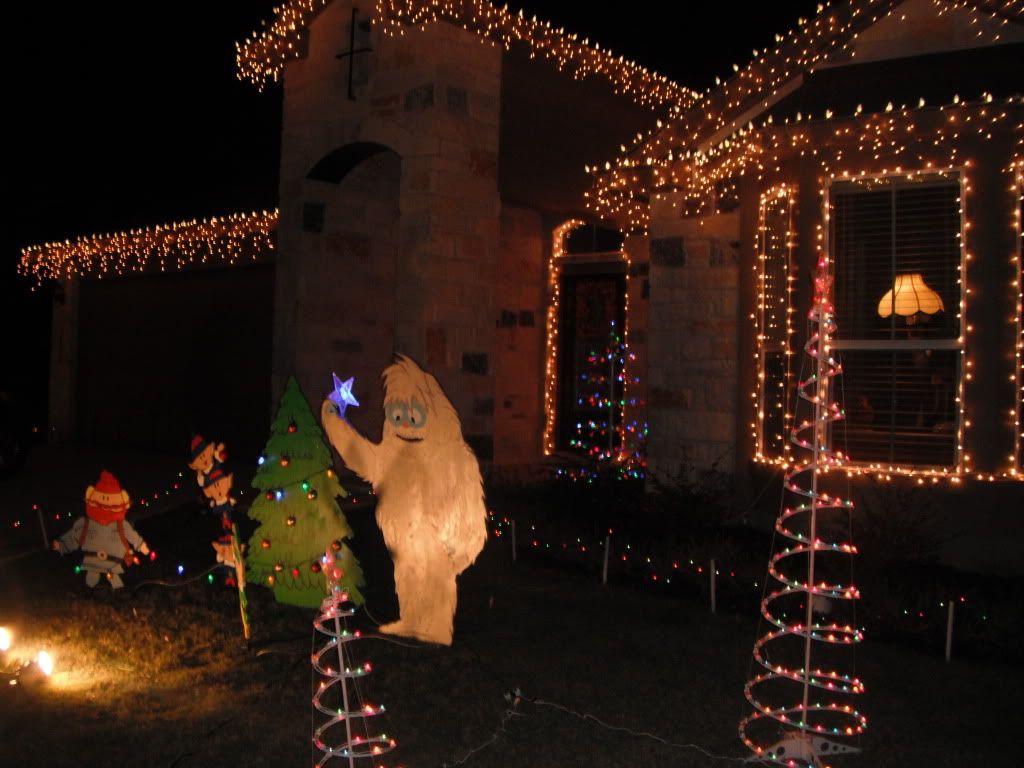
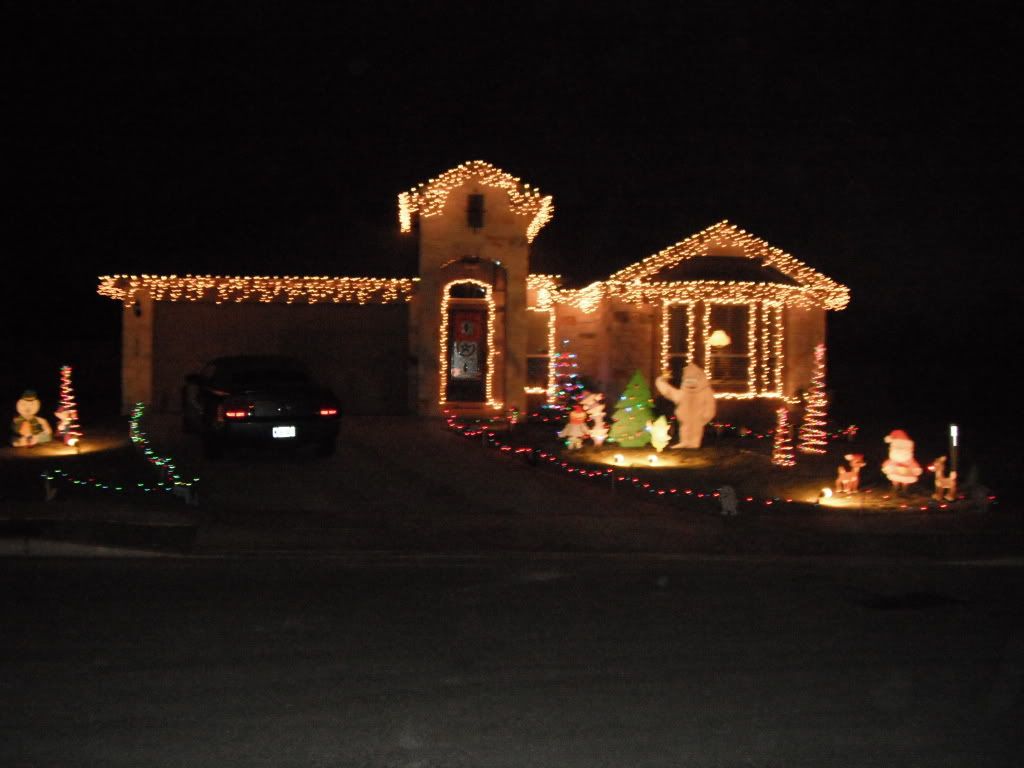
Ok so I may have mentioned that Hubs and I like us some Christmas decorations. OK we love to decorate for Christmas. We began out outside decorations last weekend. I know you should not turn your lights on till after Thanksgiving and we did not cause we finally finished the day before. It took us 6 days to get everything out, countless hours painting all the yard cutouts. Hello I started painting them in September! Ok so here is a picture over load...

I give you the Kopecki's version of Grizwald-ification=

Photobucket

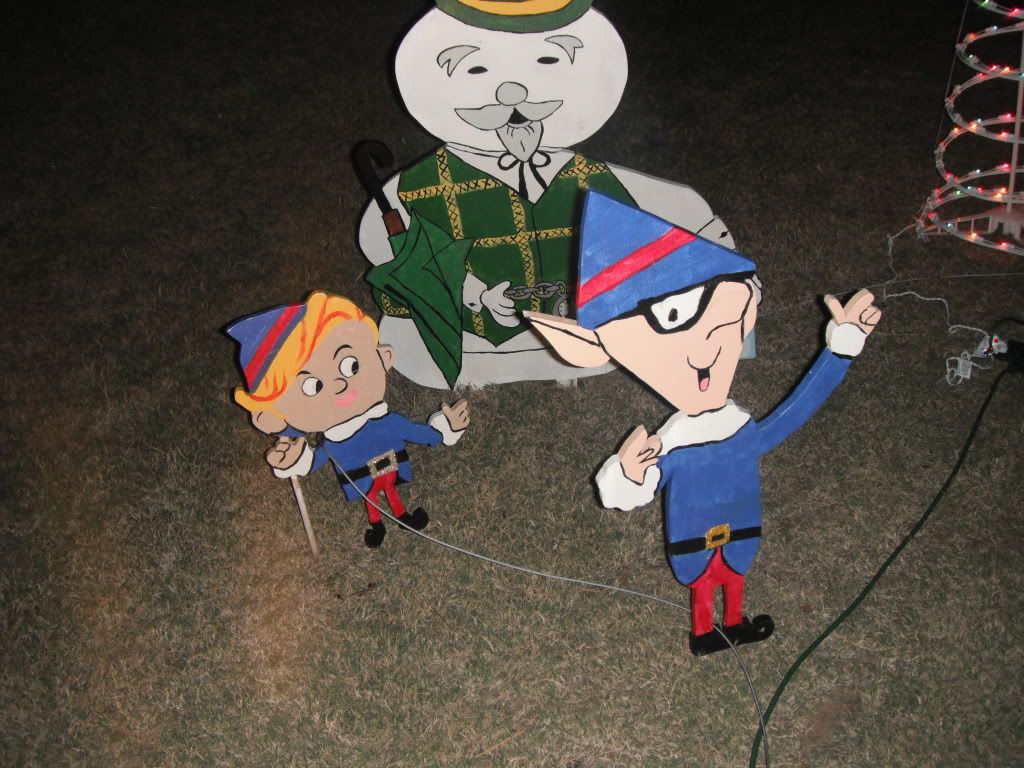
Here is what is on the left side of the driveway. Hermie, a elf and Sam the Snowman telling a story

Photobucket

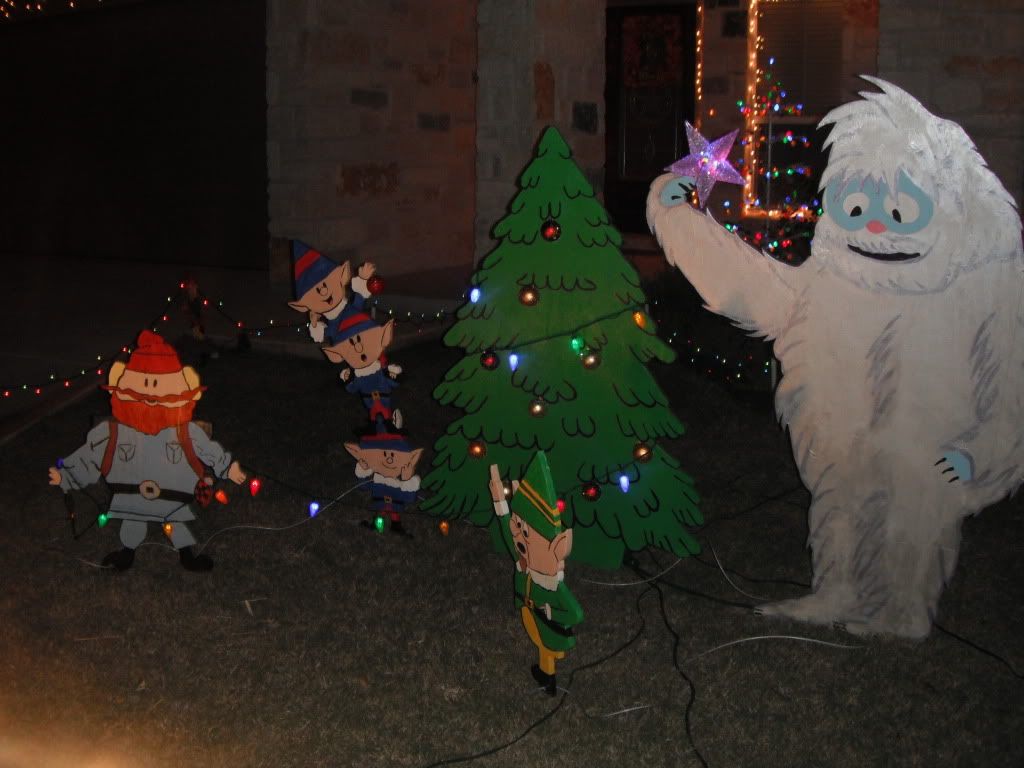
In the middle of the yard is Cornelius putting the lights on the tree, a stack of elfs putting the ornaments on, Bumbie putting the star while the head elf directs.

Photobucket

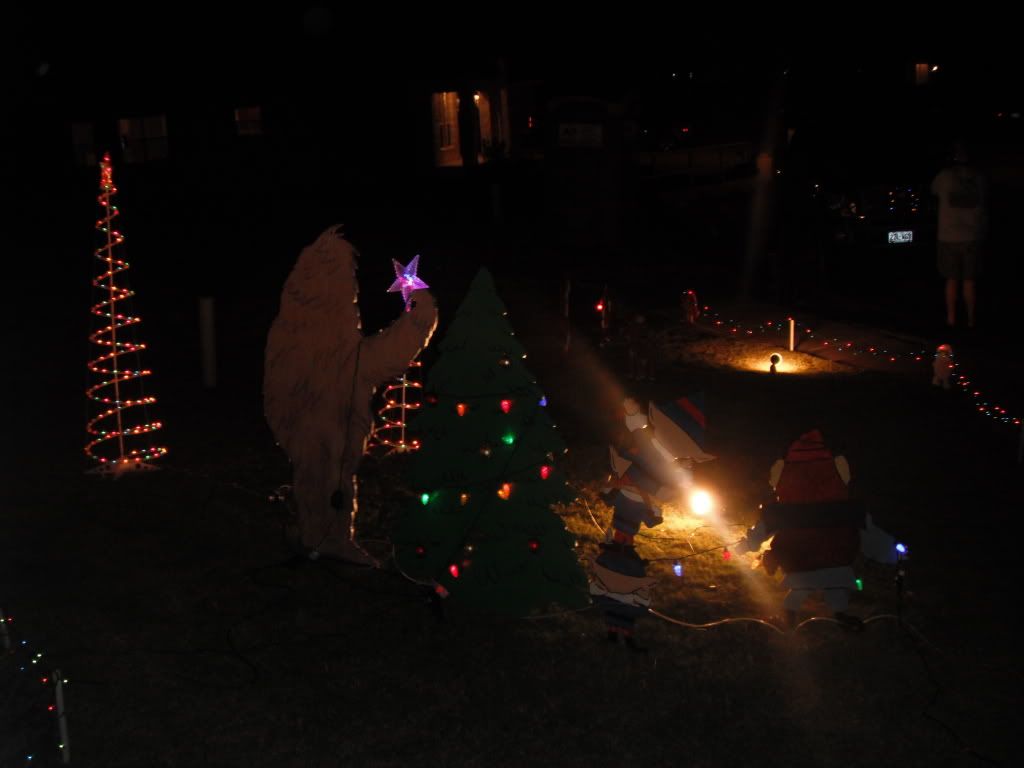
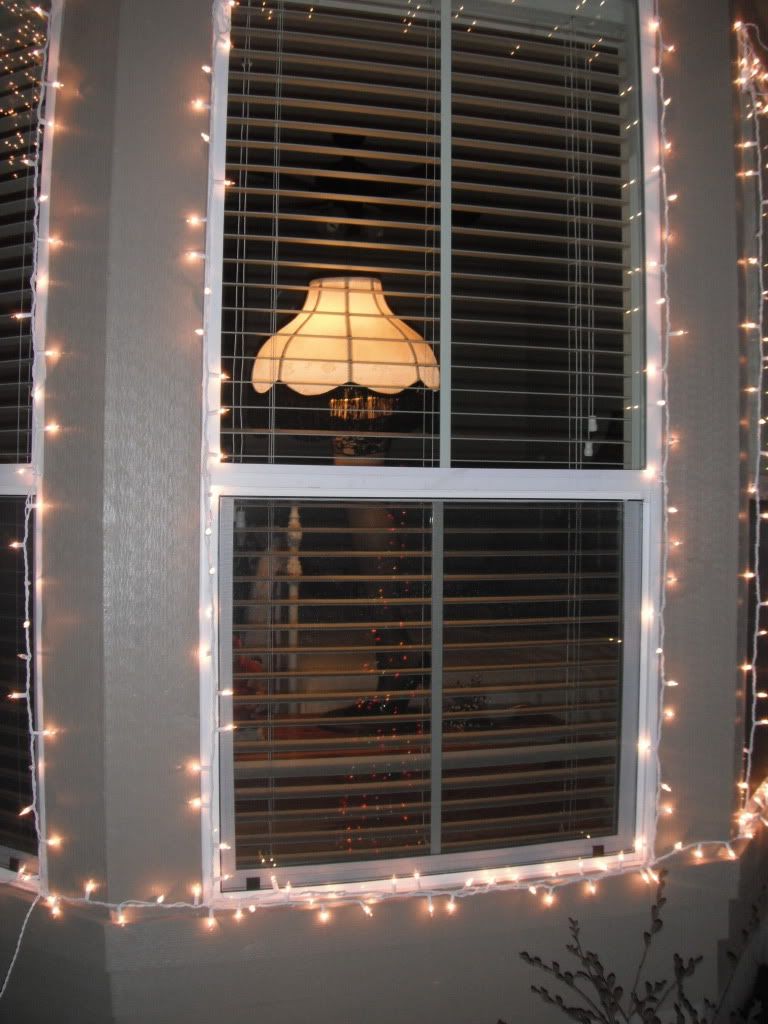
I peek of the window and the lights in the back.

Photobucket

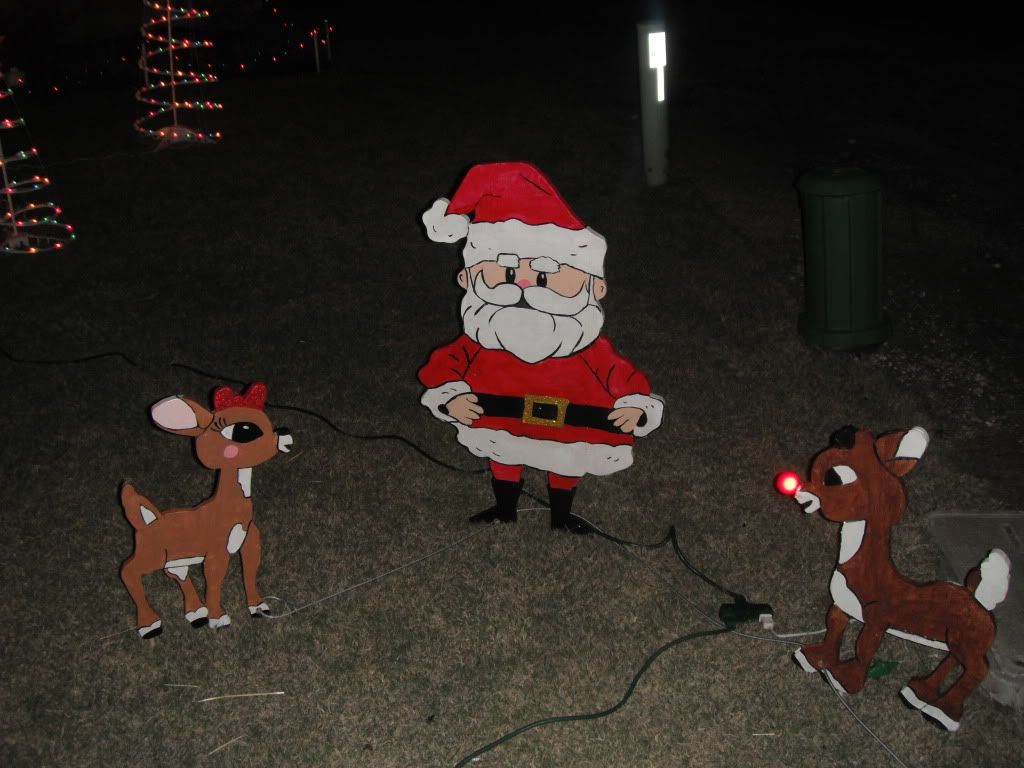
Santa is talking to Rudolph and his girlfriend Clarice as Rudolph's nose glows.

Photobucket

Yes even the backs of them are painted!

Photobucket

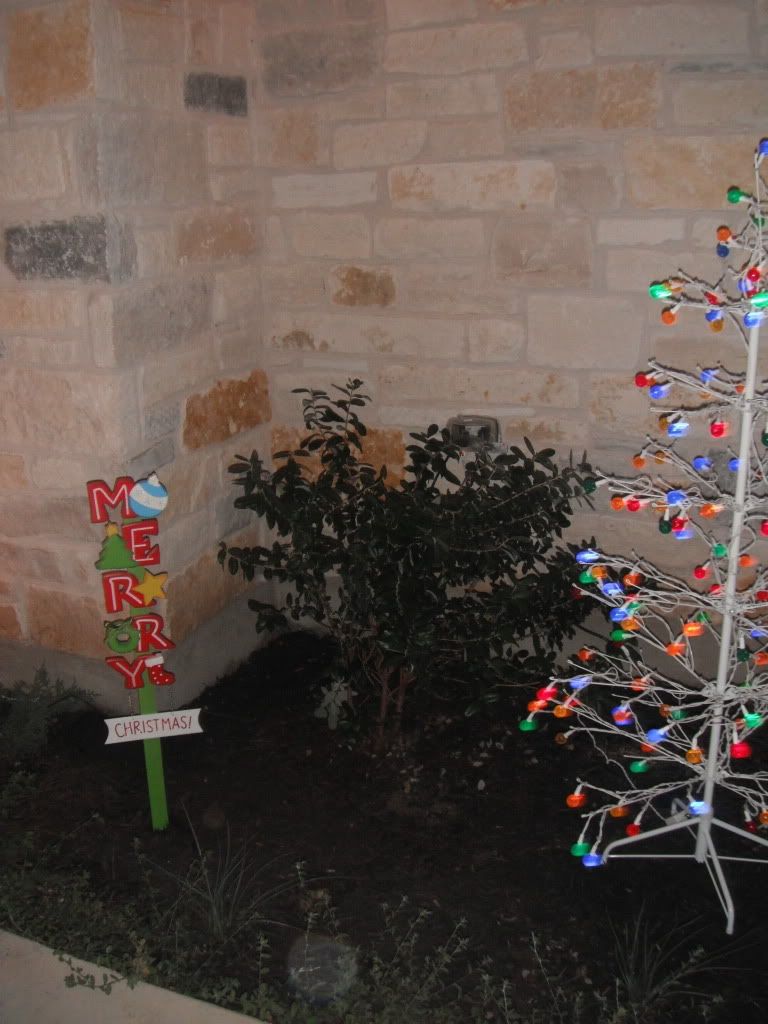
Our flower bed

Photobucket

Photobucket

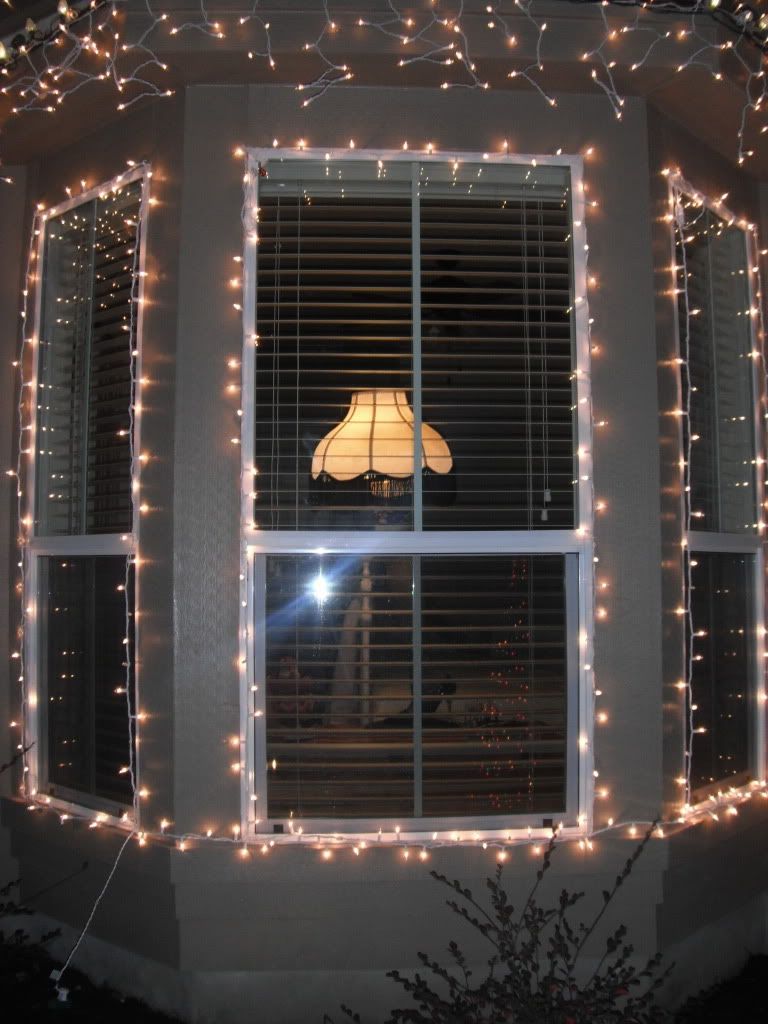
Just a little lamp that is in our front window. ;) 

Photobucket

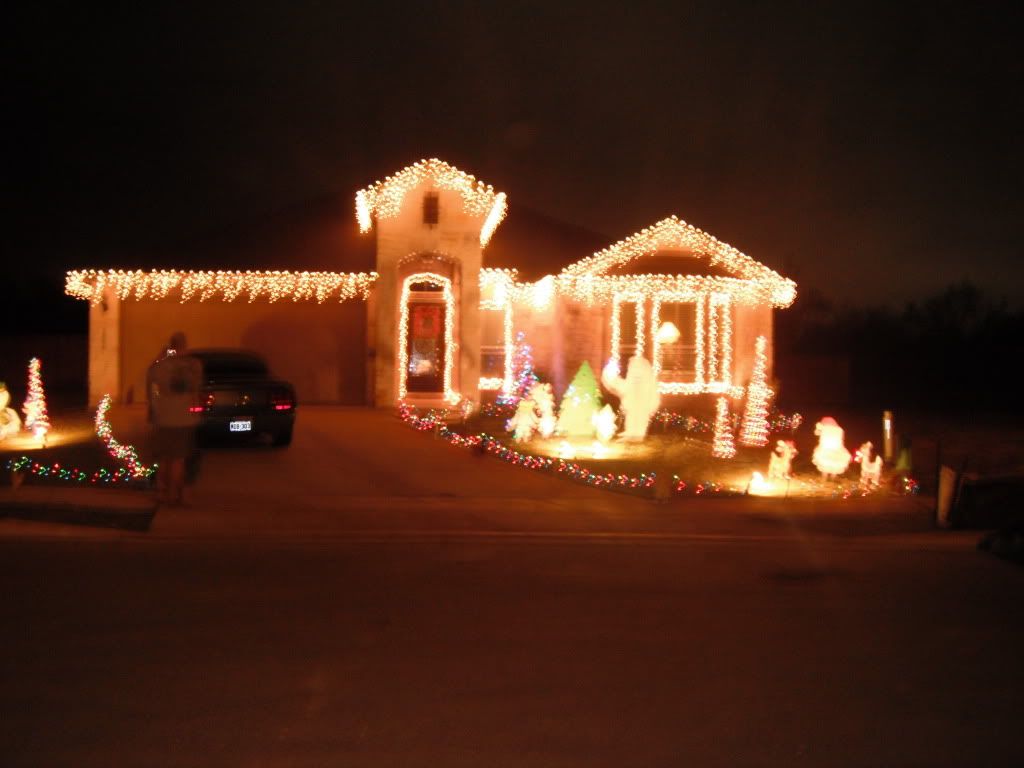
All LIT up!

Photobucket

I had to slow the shutter speed down so it was not a blur.

Photobucket

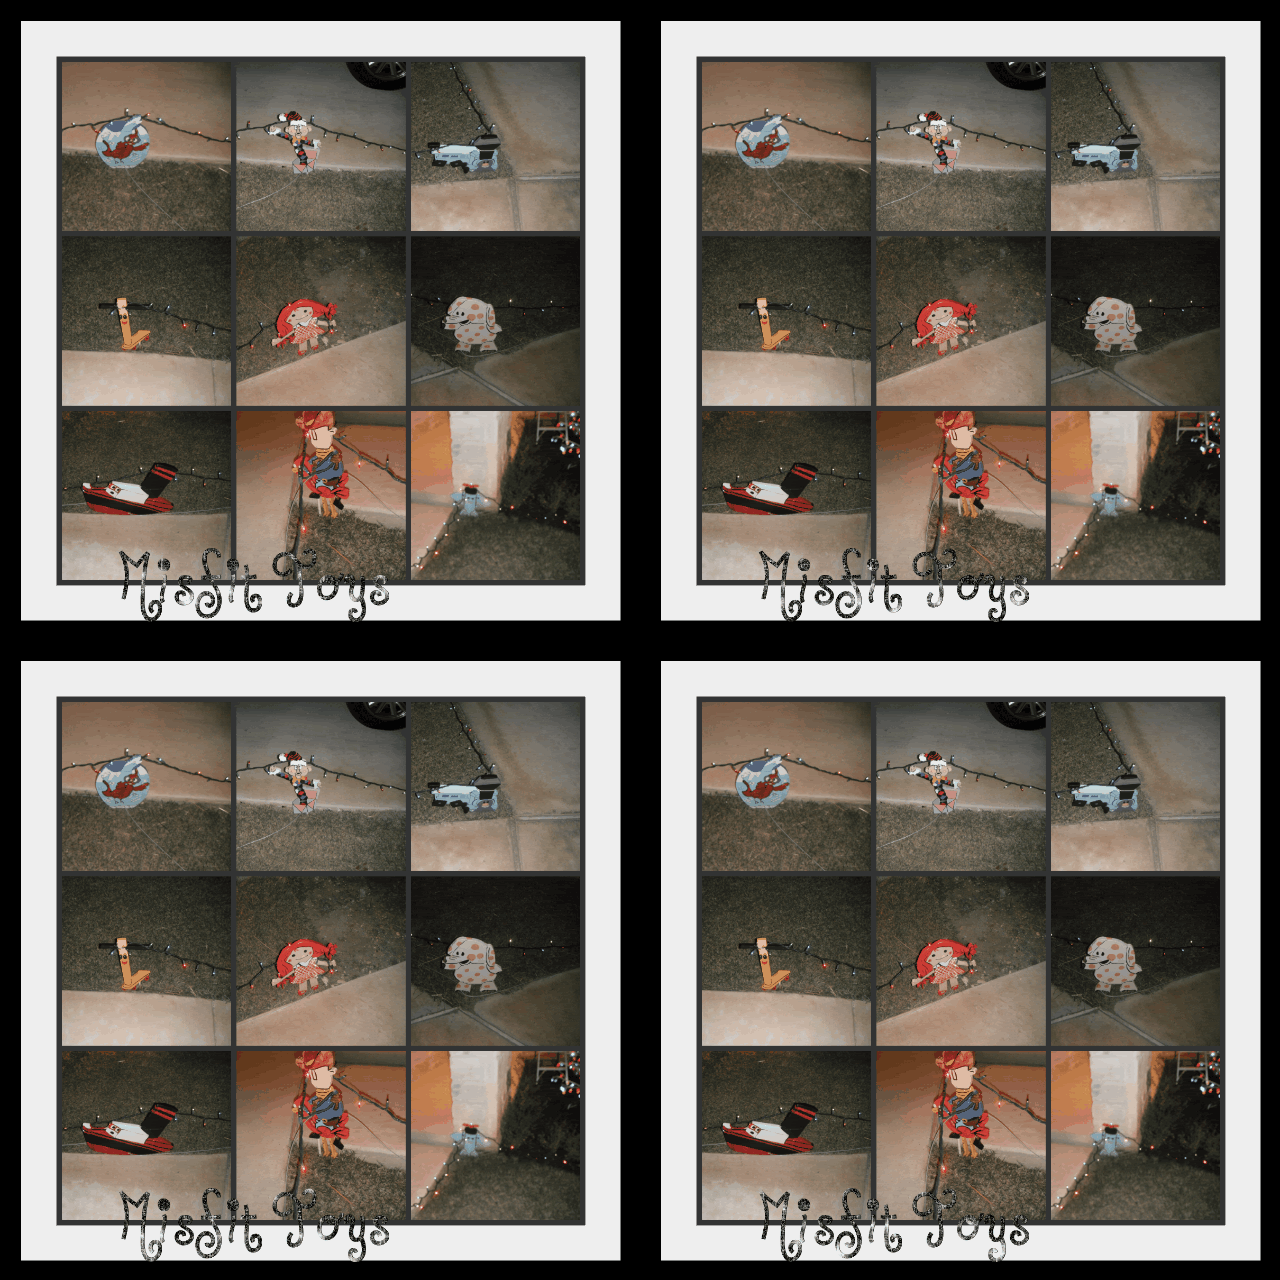
All the Misfit toys that line our drive way and side walk.

Plus not shown is my front door wreath cause it is not done just yet and let my happy fall ya'll wreath get few more days use before it gets packed up.

So that is our outside! What do you think are we nuts? Next up with be the inside and a tutorial to make this.....

Photobucket

Photobucket

P.S. Sorry the pics are so big but I am too lazy to change the size and post the new codes for all the pics. True story